Pães
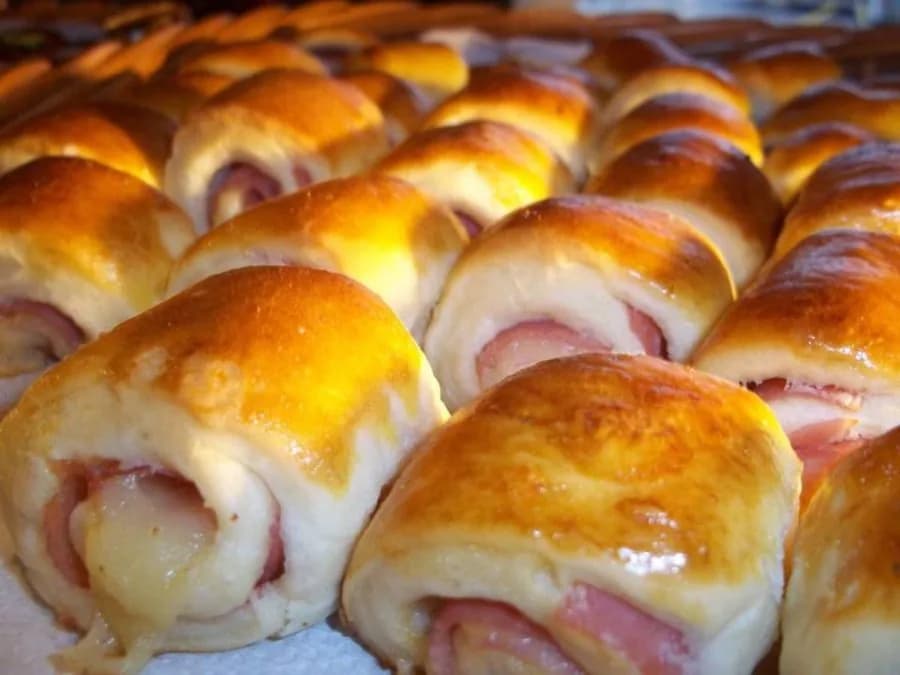
Pãozinhos Recheados com Queijo e Presunto - Receita Irresistível
Pãozinhos Recheados com Queijo e Presunto - Receita Irresistível
30 min
Por
Master Receita Solta

"Traditional homemade Pao de Queijo uses the technique of scalding the sweet cassava starch with boiling milk and oil to form an elastic and soft dough. The addition of grated minas cheese results in buns with a golden crust and elastic interior."
- Scalding the sweet cassava starch with the boiling mixture of milk and oil pre-cooks the starch and creates the characteristic elasticity. - The addition of eggs only after the batter warms up prevents the yolks from cooking prematurely in the bowl. - Grated Minas cheese gives a typical aroma and ensures that the crust bakes golden in the 30 minutes of oven time.
Preheat the oven to 180°C (350°F).
Em uma panela, leve o leite e o óleo ao fogo até ferver.
In a bowl, mix the sweet cassava starch and salt.
Pour the hot mixture over the manioc starch and stir well until the dough is homogeneous.
Espere a massa amornar, então adicione os ovos, um a um, misturando bem.
Incorporate the grated cheese into the dough and mix until smooth.
Shape into small balls and place on a greased baking sheet.
Bake for about 30 minutes or until golden brown.
Encontramos os melhores utensílios e ingredientes para você preparar Homemade Pao de Queijo: Flavor and Tradition on Your Table com perfeição.
Como Associado Amazon, o Receita Solta recebe por compras qualificadas feitas atraves deste link.
- Add 1 teaspoon of fine herbs or dried oregano to the dough for an aromatic Pao de Queijo. - Stuff the raw dough balls with small cubes of guava paste before baking in the oven. - Mix 50 grams of finely grated parmesan cheese with the Minas cheese to accentuate the crispy outer crust.
- Sweet tapioca starch can be substituted with half sweet and half sour tapioca starch for puffier and crispier breads. - Grated minas cheese can be substituted with meia cura cheese or coarsely grated canastra cheese. - Soybean oil can be replaced by sunflower oil or 100 grams of melted butter.
Keep the baked pao de queijo in a closed jar or plastic bag at room temperature for up to 2 days. To recover the crispy texture and elastic crumb, reheat in an oven at 180°C for 5 minutes.
Freeze the raw pão de queijo balls on a baking sheet for 2 hours and then transfer to plastic bags for up to 3 months. Bake directly from the freezer in a preheated oven at 180°C for 35 to 40 minutes without thawing.
Serve the Pao de Queijo nice and hot accompanied by freshly brewed drip coffee or fresh coffee with milk. Creamy cup requeijão or pepper jelly at the table enriches the mineiro coffee experience.
O polvilho doce deixa o pão de queijo mais macio, denso e uniforme; já o polvilho azedo ajuda a expandir mais e forma casca mais crocante.
The consistency varies with the size of the eggs and absorption of the starch; if it gets too sticky, refrigerate for 15 minutes before rolling.
Sim, leve as bolinhas congeladas direto ao forno pré-aquecido a 180°C, aumentando o tempo de forno em aproximadamente 5 a 10 minutos.
Standard Minas cheese or semi-cured grated coarsely is ideal, as it has less moisture than fresh cheese and melts perfectly into the dough.
Pãozinhos Recheados com Queijo e Presunto - Receita Irresistível