
- Prep
- 20 min
- Cook
- 15 min
- Total time
- 35 min
- Yield
- 4 servings
- Difficulty
- Easy
- Calories
- 680 kcal
Quick summary
“The classic stuffed burger hides a molten heart of cheese wrapped in seasoned beef and seared over high heat. The technique of carefully sealing the edges prevents the filling from leaking during cooking in the cast-iron skillet.”
What you need to know
- The 20% fat content in the ground beef ensures internal juiciness and prevents the patty from drying out.
- Folding the cheese in the center and pressing the edges firmly ensures retention of the filling under thermal pressure.
- A very hot skillet creates a quick caramelized crust without overcooking the center of the burger.
Ingredients
Main
- g Ground beef (80% lean, 20% fat)
- units American Cheese (slices)
- teaspoon Salt
- teaspoon Ground black pepper
- teaspoon Garlic powder
- teaspoon Cebola em pó
- tablespoon Vegetable oil (for grilling)
- units Hamburger buns
- Side dishes (lettuce, tomato, onion, pickles, sauces)
Instructions
Principal
- In a large bowl, mix the ground beef, salt, black pepper, garlic powder, and onion powder. Knead gently until the seasonings are incorporated, avoiding overworking the meat. The secret to this recipe is minimal handling to ensure juiciness. This step is crucial for the base flavor and texture.
- Divide the seasoned meat into eight equal portions. Take four of these portions and form thin discs, about 1 cm thick and slightly larger than the bread. The professional technique is to ensure uniformity in size for even cooking. The precision here ensures the success of the final shape.
- On each of the four meat discs, place two slices of American cheese. Stack the slices in the center, leaving a small border for sealing. In simple terms: the cheese must be well centered so it does not leak during cooking, creating the melty filling. This ensures the internal surprise.
- With the four remaining portions of meat, form four other thin discs. Carefully cover each meat disc with cheese with a new meat disc, sealing the edges firmly. The most important tip is to seal the edges effectively to prevent the melted cheese from leaking out. Use your fingertips for a secure seal.
- Heat a heavy-bottomed skillet or griddle over medium-high heat with a little vegetable oil. When it is very hot (almost steaming), place the stuffed burgers. Do not overcrowd the skillet to maintain a constant temperature. The short answer is: good initial heat creates the perfect crust.
- Grill the burgers for 4-5 minutes on each side for medium-rare, or until reaching the desired doneness. Avoid pressing the burgers with the spatula, as this squeezes out the juices and cheese. The most common mistake is pressing the burger during cooking, harming the internal juiciness and the filling.
- While the burgers cook, you can lightly toast the buns in the same skillet or in a toaster. This adds texture and prevents the bread from getting soggy with the juices. The short answer is: toasted bread greatly improves the experience, creating a firm base for the juicy burger.
- Remove the burgers from the skillet and let them rest for a minute before assembling. This allows the juices to redistribute through the meat, ensuring maximum juiciness. Assemble with your favorite toppings and serve immediately. The professional technique is to always give the meat a short rest after cooking.
Chef's tips
- Leave the filled disks in the refrigerator for 15 minutes before frying to firm the meat seal.
- Do not pierce or press the burger with the spatula on the griddle to avoid breaking the meat casing.
- Wait 3 minutes before the first bite, as the cheese inside reaches very high temperatures.
Variations
- Spicy version: add thin slices of pickled jalapeño pepper between the inner cheese slices.
- Bacon version: fold finely chopped crispy bacon into the melted cheese filling.
- Version with grilled onion: toast finely sliced onion in the same fat as the burger to cover the bread.
Substitutions
- American cheese can be replaced by sliced prato cheese or mild cheddar cheese with good melting properties.
- Ground meat with 20% fat (like flank steak or chuck) can be replaced by ground beef shoulder.
- Neutral vegetable oil can be replaced with clarified butter or artisanal lard on the griddle.
How to store
Store the already grilled discs in an airtight container in the refrigerator for up to 2 days. To reheat while keeping the cheese melted, use an oven at 160°C for 8 minutes or a covered skillet over very low heat and a spoonful of water.
Can it be frozen?
Freeze the shaped raw burgers individually wrapped in plastic wrap for up to 2 months. To prepare, defrost in the refrigerator for 6 hours before taking to the hot pan so the cheese core melts evenly.
What to serve with
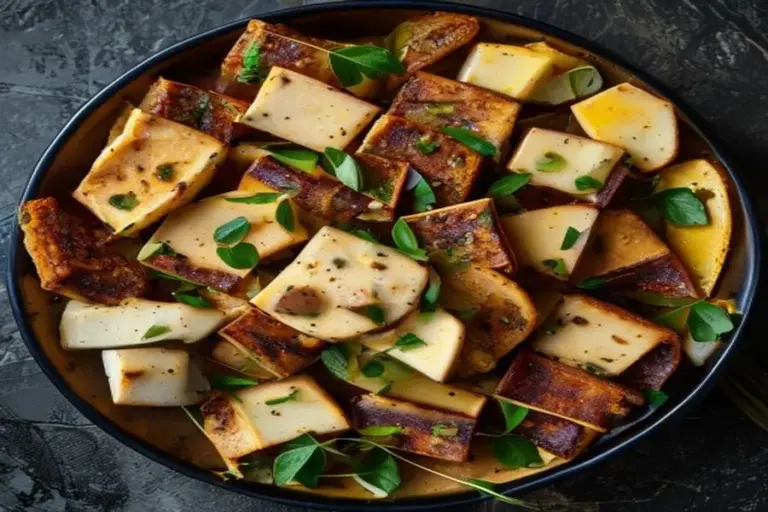
Accompany with rustic fried or roasted potatoes with rosemary, sweet and sour cucumber pickles, and artisanal soda or cold beer.
Frequently asked questions
Can I make the Juicy Lucy on the grill on an open grate?
It is risky, because if the seal breaks, the cheese will fall into the embers; prefer an iron griddle or heavy skillet.
How to know if the cheese inside has melted without opening the burger?
Upon reaching 4 to 5 minutes on each side over medium-high heat, the burger puffs slightly with the pressure of the melted cheese.
Why should the cheese be strictly in the center of the meat disk?
If the cheese touches the edge, it melts out on the hot griddle before the meat sears completely.
What is the risk of consuming the snack as soon as it comes off the heat?
The melted cheese retained in the core is at boiling temperature; wait 3 minutes to stabilize and not burn the palate.
You might also like