- Prep
- 20 min
- Cook
- 30 min
- Total time
- 50 min
- Yield
- 4 servings
- Difficulty
- EASY
- Calories
- 590 kcal
Quick summary
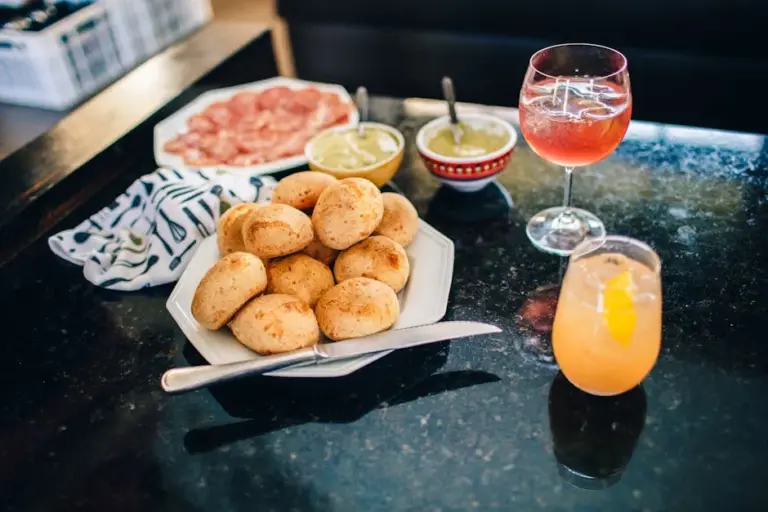
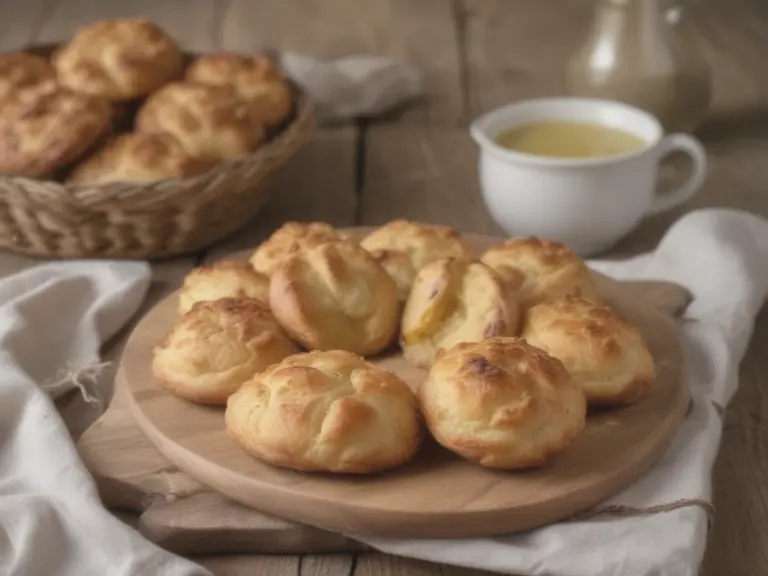
“Traditional homemade Pao de Queijo uses the technique of scalding the sweet cassava starch with boiling milk and oil to form an elastic and soft dough. The addition of grated minas cheese results in buns with a golden crust and elastic interior.”
What you need to know
- Scalding the sweet cassava starch with the boiling mixture of milk and oil pre-cooks the starch and creates the characteristic elasticity.
- The addition of eggs only after the batter warms up prevents the yolks from cooking prematurely in the bowl.
- Grated Minas cheese gives a typical aroma and ensures that the crust bakes golden in the 30 minutes of oven time.
Ingredients
Main
- 2 cups of sweet tapioca starch
- 1 cup milk
- 1/2 cup oil
- 1 cup grated Minas cheese
- 2 eggs
- 1 teaspoon salt
Instructions
Principal
- In a saucepan, bring the milk and oil to a boil.
- In a bowl, mix the sweet cassava starch and salt.
- Pour the hot mixture over the manioc starch and stir well until the dough is homogeneous.
- Wait for the dough to warm, then add the eggs, one by one, mixing well.
- Incorporate the grated cheese into the dough and mix until smooth.
- Shape into small balls and place on a greased baking sheet.
- Bake for about 30 minutes or until golden brown.
Chef's tips
- Let the scalded dough cool until warm to the touch before adding the eggs one by one.
- Grease your hands with a little vegetable oil to easily shape the balls without the dough sticking to your palms.
- Keep a space of 2 centimeters between the balls on the baking sheet, as the pao de queijo expands with the heat.
Variations
- Add 1 teaspoon of fine herbs or dried oregano to the dough for an aromatic Pao de Queijo.
- Stuff the raw dough balls with small cubes of guava paste before baking in the oven.
- Mix 50 grams of finely grated parmesan cheese with the Minas cheese to accentuate the crispy outer crust.
Substitutions
- Sweet tapioca starch can be substituted with half sweet and half sour tapioca starch for puffier and crispier breads.
- Grated minas cheese can be substituted with meia cura cheese or coarsely grated canastra cheese.
- Soybean oil can be replaced by sunflower oil or 100 grams of melted butter.
How to store
Keep the baked pao de queijo in a closed jar or plastic bag at room temperature for up to 2 days. To recover the crispy texture and elastic crumb, reheat in an oven at 180°C for 5 minutes.
Can it be frozen?
Freeze the raw pão de queijo balls on a baking sheet for 2 hours and then transfer to plastic bags for up to 3 months. Bake directly from the freezer in a preheated oven at 180°C for 35 to 40 minutes without thawing.
What to serve with
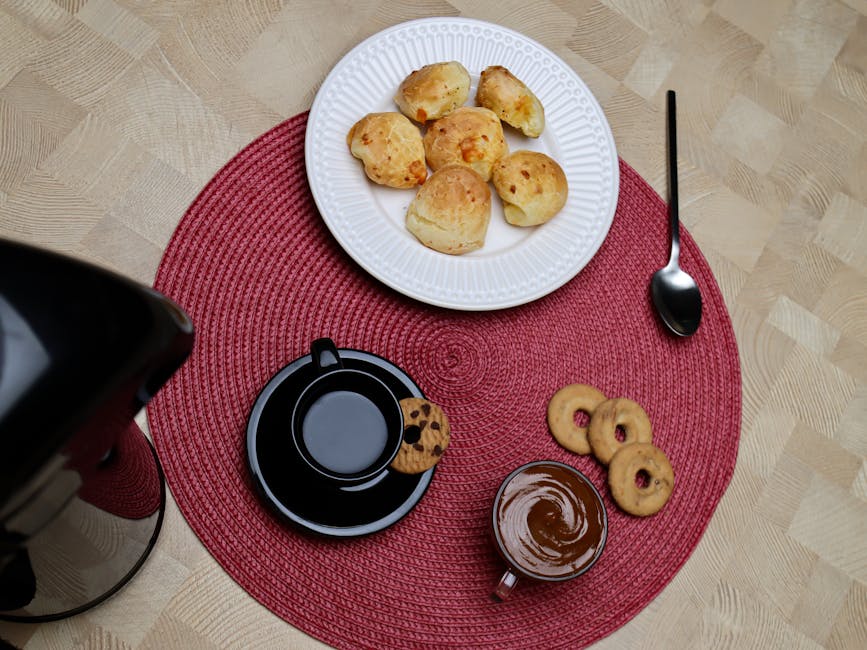
Serve the Pao de Queijo nice and hot accompanied by freshly brewed drip coffee or fresh coffee with milk. Creamy cup requeijão or pepper jelly at the table enriches the mineiro coffee experience.
Frequently asked questions
Why did the Pao de Queijo dough get very sticky?
The consistency varies with the size of the eggs and absorption of the starch; if it gets too sticky, refrigerate for 15 minutes before rolling.
What type of Minas cheese is best for the recipe?
Standard Minas cheese or semi-cured grated coarsely is ideal, as it has less moisture than fresh cheese and melts perfectly into the dough.
What is the difference between using sweet tapioca flour and sour tapioca flour?
Sweet cassava starch makes the Pao de Queijo softer, denser, and more uniform; while sour cassava starch helps to expand more and forms a crispier crust.
Can I bake frozen Pao de Queijo directly in the oven?
Yes, place the frozen balls directly into the preheated oven at 180°C, increasing the baking time by approximately 5 to 10 minutes.